From download to framed art
How to Print Etsy Digital Wall Art: Paper, Frame and Size Guide
Download the original artwork, decide the image size and frame arrangement, choose the matching file shape, and compare paper samples before ordering the final print. Check the crop and a small proof first; a frame size alone does not tell you what size to print.
Buying digital wall art gives you a file to print, rather than a finished framed object. The simplest route is to make the decisions in order: artwork, visible image size, paper, frame, then final print order. If you already own a frame, start with its specifications and work backwards.
1. Download the original purchased file
Open Etsy in a computer or mobile browser, sign in and go to Purchases. Find the order and choose Download Files when it is available. Etsy’s download instructions currently say digital purchases cannot be downloaded through the Etsy app. Guest purchases and made-to-order files have their own steps in that help article.
Keep the seller’s instructions with the files. If a download is a ZIP archive, extract it before choosing an image. Some purchases supply a PDF with a download link rather than the artwork itself; follow the instructions provided with that order. Ask the seller if you cannot identify the final print file.
Use the original download for printing. A screenshot of the listing or a saved room mockup is not a substitute for the purchased artwork. Keep a separate unchanged copy so you can return to it after making test layouts.
2. Separate image size, paper size and frame size
Write down four measurements before ordering:
- Visible image: the part of the artwork you want to see.
- Paper sheet: the physical print, including any blank border.
- Mat opening: the window through which the art will show, if you use a mat.
- Frame: its stated fitting size and its outside dimensions, which serve different purposes.
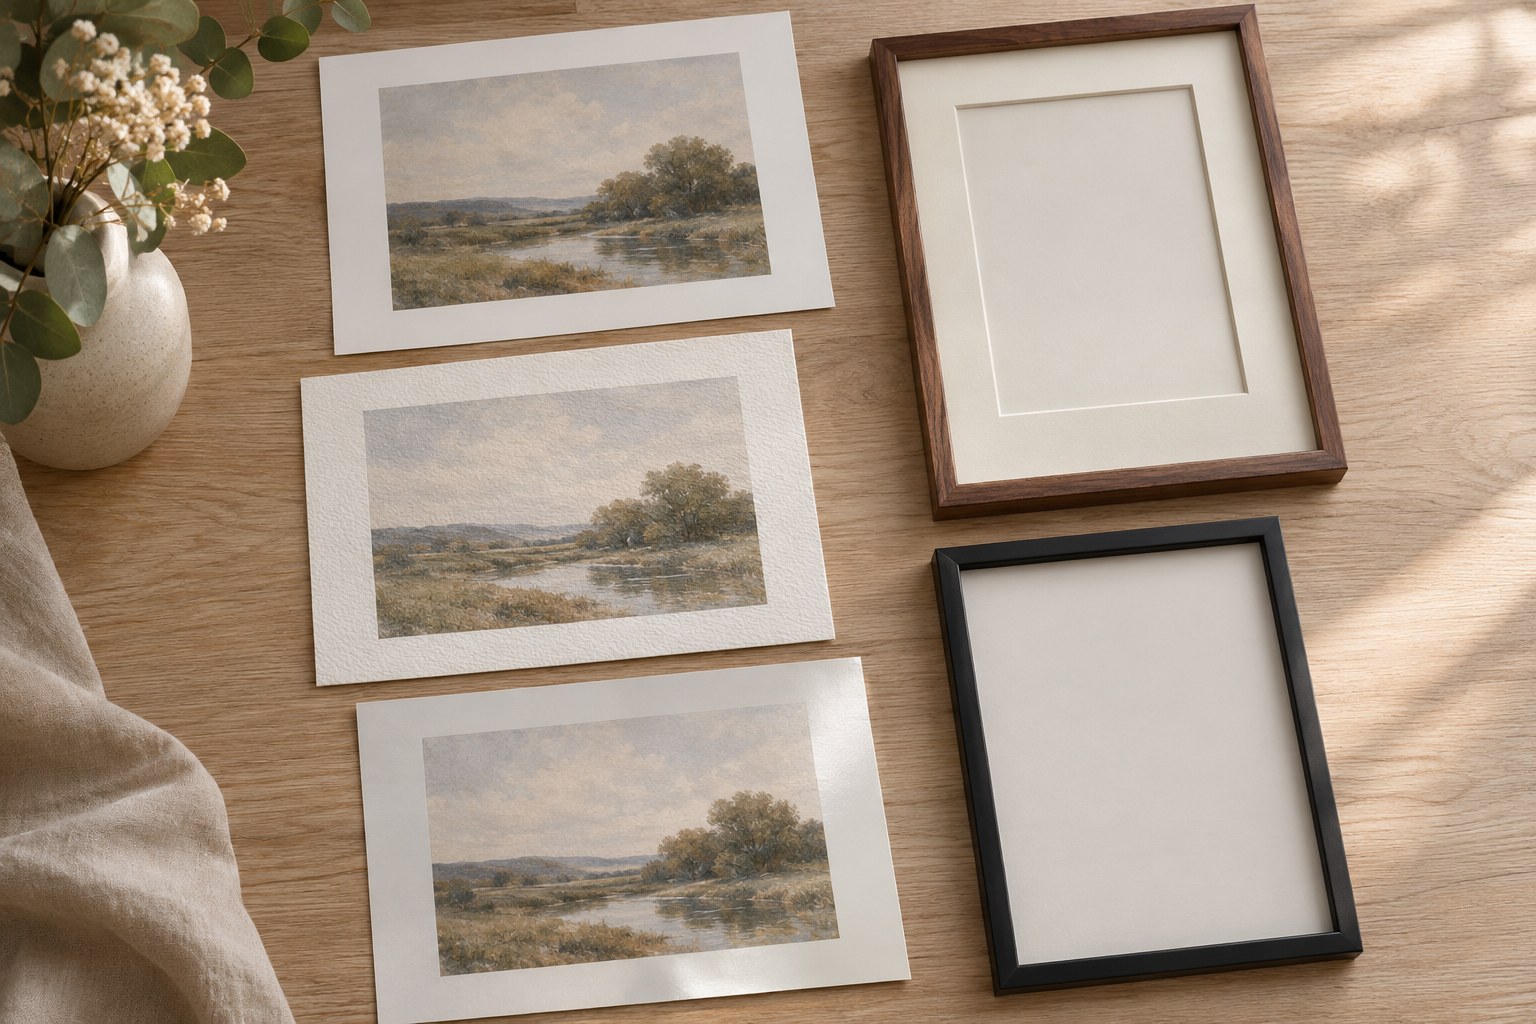
A frame sold as 11 × 14 inches may hold an 11 × 14-inch sheet without a mat, or a smaller print behind a mat sized for that frame. Check the actual product description. The visible opening can be slightly smaller than the print it holds; confirm the overlap before placing an important signature or border near the edge.
Planning example: you want an 8 × 10-inch image with a mat in a frame designed to hold an 11 × 14-inch mat package. Confirm the mat’s actual opening and the print size it is intended to hold, then order the print accordingly. Do not order an 11 × 14 enlargement simply because those numbers are on the frame box. For an edge-to-edge display, check how much of the sheet the frame lip will cover.
Use the wall-art size guide to compare the finished outside footprint with your room. Then settle the print and mat measurements, rather than trying to solve every size decision at the checkout.
3. Match the file’s proportions to the intended image
Aspect ratio is the relationship between width and height. An 8 × 10-inch portrait print and a 16 × 20-inch portrait print both have a 4:5 ratio. They can use the same-shaped image, provided the file has enough pixels for the intended output.
Swipe or scroll sideways to read the size table.
| Portrait shape | Example image sizes | Check before ordering |
|---|---|---|
| 2:3 | 4×6, 8×12, 12×18, 16×24, 20×30, 24×36 inches | Pixel dimensions and the exact size supported by your printer or lab |
| 3:4 | 6×8, 9×12, 12×16, 18×24 inches | Use the file supplied for this ratio |
| 4:5 | 4×5, 8×10, 16×20 inches | 8×10 is a different shape from 8×12 |
| 11:14 | 11×14 inches | Keep it separate from 4:5 |
| 5:7 | 5×7, 10×14 inches | It is close to, but not exactly, the ISO A-series shape |
| ISO A-series | A4: 210×297 mm; A3: 297×420 mm | Use the correct A-size layout or approve a border/crop |
For landscape art, reverse the width and height. File names differ between sellers, so follow the included size chart rather than assuming every purchase contains every ratio.
If the shapes differ, choose deliberately between a crop, a border or a different print size. Do not stretch the image to force a fit. Mpix’s preparation guidance, for example, explains that an image with different proportions from the ordered size can be cropped to fill the print. Check your own lab’s preview.
Resolution is a separate question. A hypothetical 2400 × 3000-pixel file provides 300 pixels per inch at 8 × 10 inches, or 150 pixels per inch at 16 × 20 inches. Those calculations do not guarantee a particular result. Ask the lab whether the original file suits your requested size, and judge a proof before making a large order.
4. Choose the paper surface and material
Ask the lab for the exact paper name and a sample where possible. “Matte,” “cotton” and “300 gsm” describe different aspects of a paper: finish, fibre material and weight per area. A heavier sheet is not automatically a better match for your image or a paper your home printer can feed.
Swipe or scroll sideways to compare the options.
| Paper option | Worth comparing for | What to inspect in a sample |
|---|---|---|
| Smooth matte inkjet or photo paper | Drawings, fine lettering and paintings when you prefer little surface shine | Small detail, dark areas and the shade of the unprinted paper |
| Textured fine-art inkjet paper | Artwork where you enjoy a tactile, paper-like surface | Whether the texture adds something you like or competes with delicate details |
| Lustre, pearl or satin photo/fine-art paper | Images for which you want some sheen | The actual finish under your room lighting; names vary by product |
| Glossy paper | Images where you deliberately prefer a shiny presentation | Reflections, contrast and how it looks with the intended glazing |
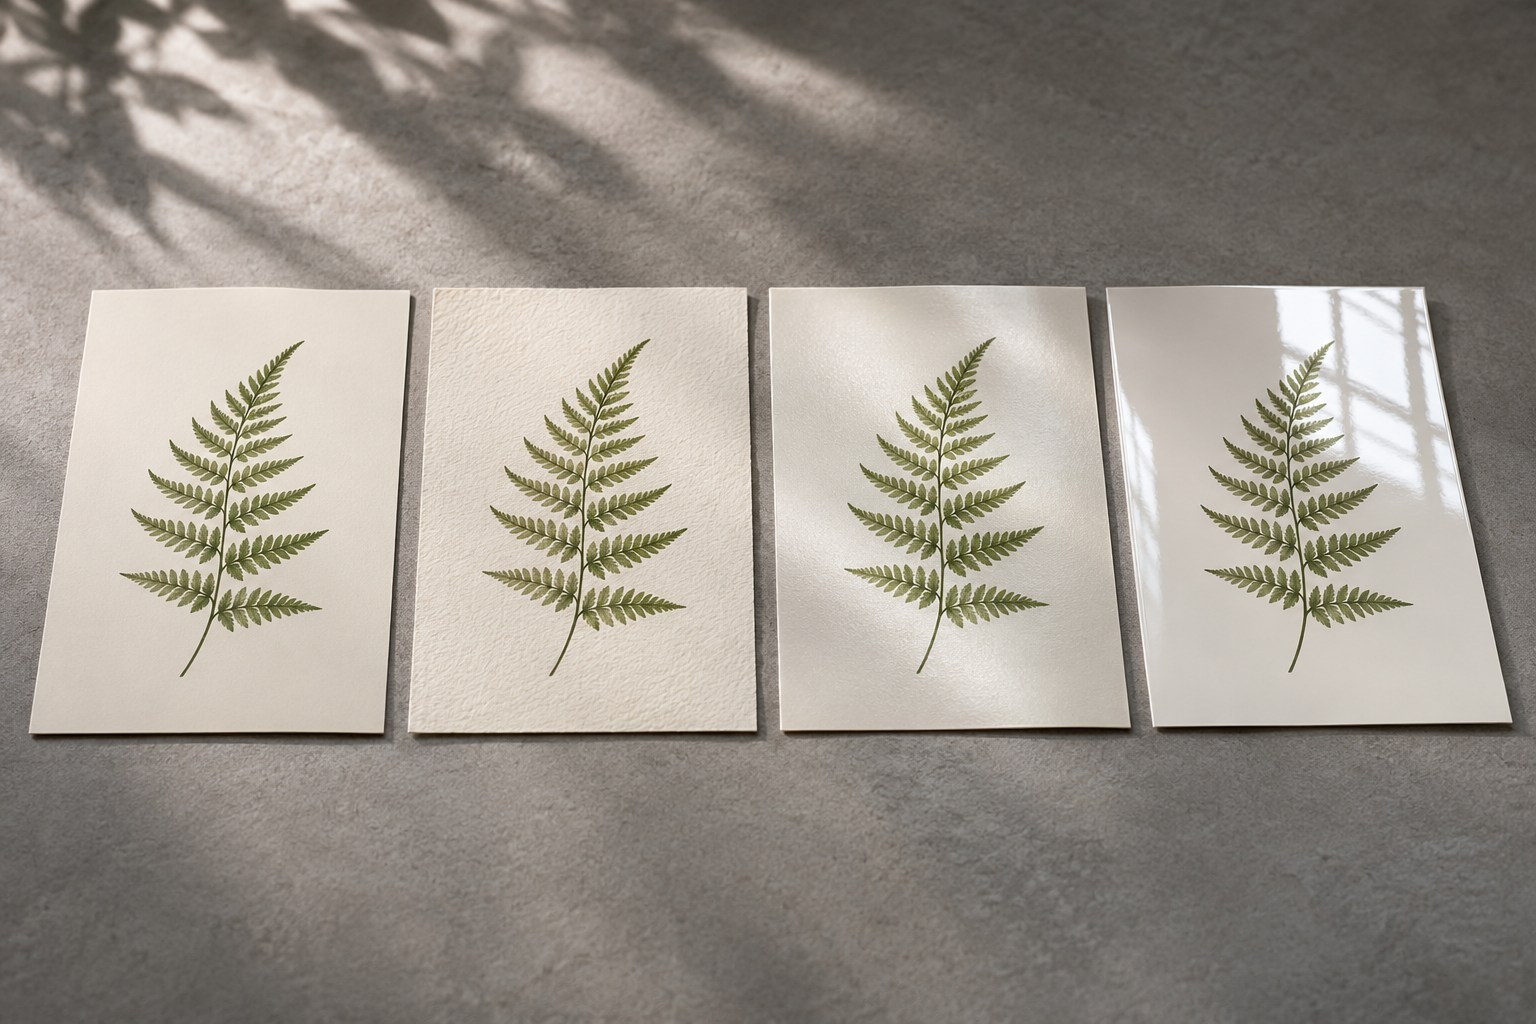
Start by comparing smooth matte and one alternative on the same artwork. This is a styling test, not a universal ranking of paper quality. A textured sheet does not make a reproduction an original watercolor, and a matte surface does not remove reflections from the frame’s glazing.
Material matters too, but read the complete product specification. Hahnemühle makes fine-art papers with cotton or alpha-cellulose bases, and offers several degrees of surface gloss. Cotton is therefore not another word for matte, nor is every textured sheet the same product. If long-term display matters, ask the printer about the whole ink-and-paper system rather than relying on the word “archival” alone.
For home printing, choose media explicitly compatible with your printer and ink system. Ordinary artist watercolor paper is not automatically suitable for your printer. Check the permitted thickness or weight, feed route and recommended media setting before buying a pack. Follow the paper and printer instructions instead of choosing a universal minimum gsm.
5. Choose the frame and mat around the actual print
Compare a finish sample beside the artwork: timber can relate to furniture, a dark frame can repeat the image’s outlines, and a pale mat can give the composition more surrounding space. These are options to compare in your room, rather than rules that every vintage painting needs gold or every sketch needs black.
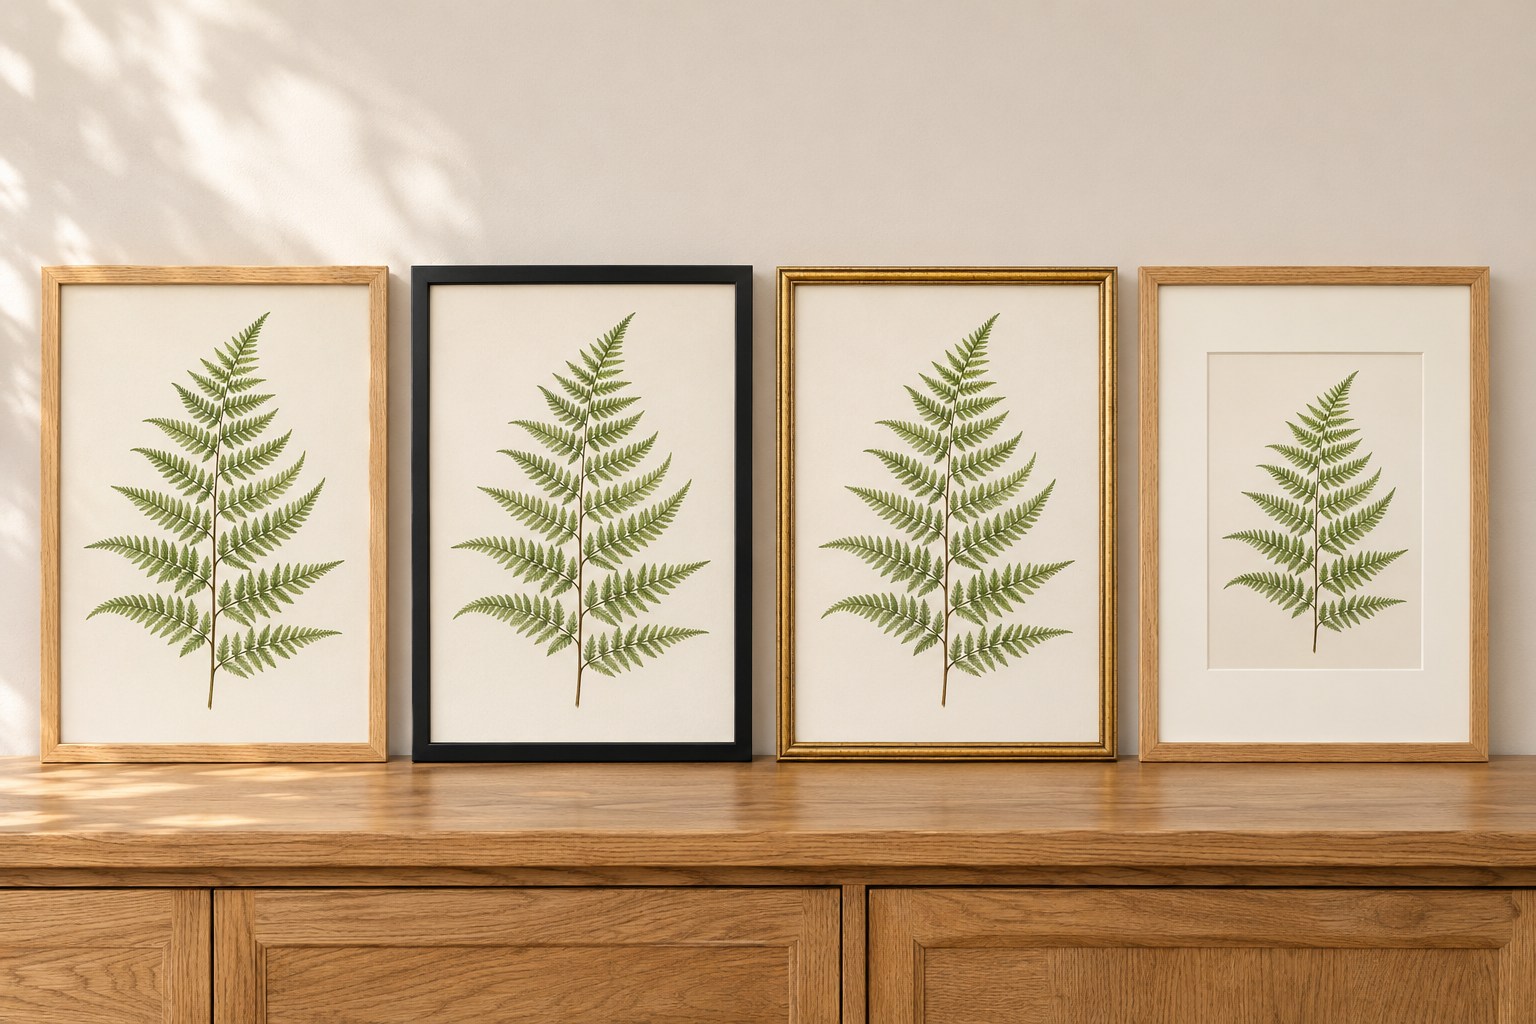
Frame material and appearance are only part of the choice. Check that the frame has the appropriate fitting size and enough depth for the glazing, mat, print and backing. If using a mat, confirm both its outside size and its opening. If keeping an existing frame, give those details to the framer before ordering a new print.
For preservation-focused framing, the Library of Congress guidance calls for suitable stable framing materials and keeping the paper away from the glazing with an appropriate mat or spacers. It also advises against direct sunlight and locations with environmental extremes. Discuss the package with a qualified framer if preservation is important. No glazing makes a print immune to light damage or makes a steamy location risk-free.
Two prints to try these choices with
Use the artwork’s details and colors to shortlist a paper and frame, then confirm the result with your printer’s sample. These are digital artwork listings; choose and purchase printing and framing separately. Check each Etsy listing for its current included files and size instructions.

Vintage Wild Cosmos Flowers Print
Try: smooth matte paper with natural oak for a gentle presentation, or antique gold for a warmer decorative edge. Inspect a small proof to see whether textured paper competes with the fine stems.

Vintage Landscape Print — Rolling Hills Sunset
Try: smooth matte or a subtle textured fine-art paper, compared in the same light. Natural oak can echo the golden field; a dark frame can repeat the tree’s outline. Check that the shaded tree remains readable in the proof.
6. Choose where to print
A local photo or fine-art lab is useful when you want to discuss paper samples and inspect a proof. An online lab can work when its paper specifications, preview and delivery fit the project. Home printing is an option when your printer supports the chosen size and media and you are comfortable making tests.
Choose by the service you need, not just by the shop category. Ask whether the provider accepts your file format, offers your exact print size, will preserve or crop the border, and can produce a proof. Compare the complete cost of printing, frames, mats and delivery. Check current turnaround and product details directly; store offerings vary by location and can change.
Keep the seller’s usage terms or print permission available. An Etsy receipt identifies the purchase, but it does not replace the actual licence or guarantee every print service will accept the file. Ask the seller for clarification if the printer requests documentation.
7. Check the preview and order one proof
- Open the original file and choose the intended output size and orientation.
- Select the exact paper or appropriate media setting recommended for that printer-and-paper combination.
- Inspect the complete crop: corners, signatures, plant tips, borders and any text.
- Review automatic color correction with the lab. Use its guidance for supplied artwork rather than assuming one setting suits every file.
- Print one small proof or a useful detail section on the intended paper before committing to a larger order.
- Inspect the result in the light where you will display it, and confirm the final sheet dimensions before framing.
At home, “100%” or “Actual size” only makes sense when the document has already been laid out at the intended physical dimensions. A large JPEG is not necessarily an 8 × 10 document just because you want an 8 × 10 print. Set the output size and inspect the preview first.
Borderless printing may enlarge and crop the image edges. Epson’s troubleshooting guidance identifies expansion as a possible cause. Use the instructions for your exact model and supported paper; borderless is not an automatic cure for an unwanted white edge.
Follow the paper and ink maker’s drying, handling and storage instructions before placing the print in the frame. If you see damage, marks or unexpected curl, ask the printer for advice rather than flattening, heating or taping the image as a default fix.
Common problems to check before reprinting
The image is cropped
Compare the file ratio with the ordered image size, then check the lab crop, borderless expansion and the mat opening. The missing edge may come from a different stage of the process.
The print looks dark or different from my screen
Compare it under the intended viewing light. Ask the lab to review the file, paper choice and any correction settings before editing the original. Keep changes in a separate test copy.
The image is soft
Confirm that you uploaded the original download, inspect its pixel dimensions and ask whether the chosen output size is appropriate. A screenshot or a file name alone cannot establish print quality.
The print does not fit the frame
Measure the physical sheet, the frame fitting size and the mat opening. A nominal frame size and the visible image size are different measurements; confirm which one the product label describes.
Your print-order checklist
- Artwork file
- Original file name, ratio and pixel dimensions: ______
- Size and border
- Visible image: ______ Paper sheet: ______ Crop or blank border approved: ______
- Paper
- Exact product, finish and material: ______ Printer compatibility or lab confirmation: ______
- Frame
- Fitting size: ______ Mat outside size and opening: ______ Outside frame dimensions: ______
- Proof and order
- Paper/crop/color checked: ______ Quantity: ______ Total cost and collection/delivery: ______
Save this with your downloaded files. It gives the printer and framer the same plan, and makes future reprints easier to order consistently.