Home office styling
How to Arrange Diplomas and Personal Art in a Home Office
Plan for the desk, doorway and camera views, then arrange the complete frames into one clear group or several deliberate zones.
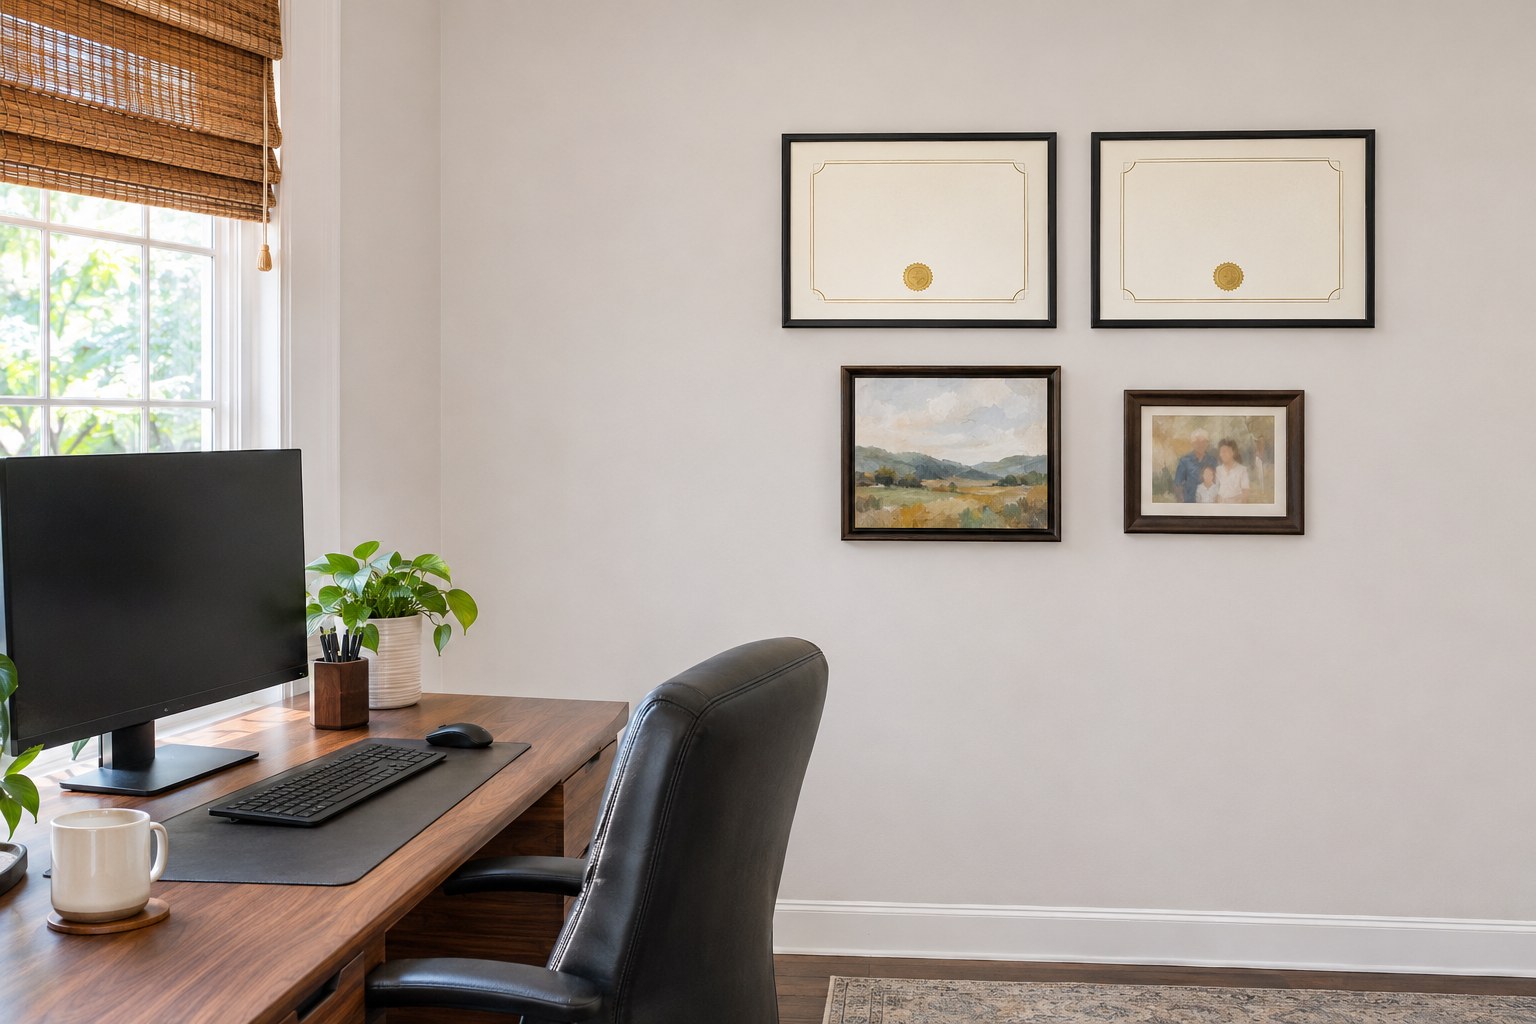
Decide who the wall is for
A home office wall may serve three audiences: you at the desk, someone entering the room, and people seeing a small part of it on a video call. Those views are different. Start by deciding which one matters for each item rather than centering everything on the longest blank wall.
List the diplomas, certificates, family photographs and hobby art you want to include. Mark what must be visible every day, what can move and what you are happy to keep off camera. In a shared office, include the people represented as well as the number of frames. Equal care does not have to mean identical arrangements, but the choice should be deliberate.
You do not need to display every accomplishment to make the office feel finished. A selected group can show the work you value while leaving room for the rest of your life.
Check the camera view before planning the whole wall
Open your usual camera preview with the chair and laptop or webcam in their ordinary positions. Observe which wall area actually appears. Then compare it with the doorway view and the view from the desk. Use the real setup, including your usual monitor height, rather than a camera held at a convenient angle.
Notice whether your head hides the center of the proposed group, whether a frame is cut off at the edge and whether the document text looks more prominent than you expected. Decide what names, institutions and family images you want visible to the people on your calls. A certificate can be meaningful in the room without needing to appear in the camera background.
Save a private planning screenshot if useful. You are checking composition and what you choose to show, not creating a requirement for a formal-looking office. Do the test before buying additional frames.
Choose between three office layouts
Swipe or scroll sideways to read the comparison.
| Layout | Worth testing when | What to check |
|---|---|---|
| One document row, art elsewhere | You want the achievements to read as a clear group. | Different outside frame heights may need a shared top or center line. |
| Document row with a smaller art group | You want one wall to show work and personal interests. | The smaller group should feel intentional, rather than fill every leftover gap. |
| Separate groups by person or purpose | A shared office includes several people or distinct collections. | Compare the groups from the doorway so one does not look accidentally isolated. |
There is no need to arrange the wall according to a supposed universal clockwise reading pattern. Compare the actual contents and the views you use. Two similar certificates may make a useful row; a large degree and several smaller awards may call for a more varied group.
Measure the frames you have, not the paper names
Record each frame’s outside width and height, its orientation and its visual character. A diploma in a broad mat can have a much larger footprint than the document itself. Two documents with equal paper dimensions can still need different space when their frames differ.
For a hypothetical example, two landscape frames each 18 inches wide and 14 inches high with a trial 3-inch gap make a row 39 inches wide. Centered within a clear 48-inch wall section, that leaves 4.5 inches on each side. Those figures check horizontal fit only; they are not a recommended installation clearance or universal spacing rule.
Suppose you add a 10-inch-wide art frame below. Do not assume it must sit directly under one certificate. Compare it with a small companion so the lower group reads as a deliberate unit, or move it to another wall if the combined shape becomes awkward.
Use paper shapes at the complete outside sizes on a floor plan or a large sheet. Include a rough image or a note saying “dark landscape” or “pale certificate”: blank rectangles alone miss differences in how strongly the contents draw attention.
Give unlike documents one visual connection
Choose one thing to repeat across the document group: a frame finish, a main mat color or a consistent alignment. You can keep a meaningful older frame and repeat its dark wood elsewhere instead of replacing every frame at once.
Certificates often have borders, seals and signatures close to the edge. Confirm what the intended opening will show before choosing a mat or fitting. Do not plan a crop only to make the outside frame match another picture.
If a sentimental presentation folder matters as much as the paper, record that before shopping. Measure the complete item and ask a specialist framer about a suitable display approach. A standard flat document frame may not answer a project that includes an enclosure; avoid forcing the object into a layout designed for paper alone.
Plan around the desk in its working position
Check the desk and monitor at the positions you actually use. If the desk adjusts, compare both seated and standing arrangements. A composition that seems clear above an empty desk may be partly hidden once the monitor, lamp and paperwork return.
Map doors, windows, cupboards and controls before allocating wall space. Keep existing functions usable. If a cabinet or floor replacement is already planned, finish the furniture decision before fixing the final picture positions; otherwise the gallery may be centered on something that soon moves.
Do not add a shelf simply because a photograph shows one. Decide whether you need a shelf for actual objects, then assess its footprint and installation separately. The wall can be complete with framed work alone.
A home-office display worksheet
- People and priorities
- Whose achievements are included? _____ Which personal interests should be visible? _____
- Three views
- Desk view: _____ Doorway view: _____ Camera view and chosen visible information: _____
- Frame inventory
- Outside sizes, orientation and items whose current frame or enclosure must stay: _____
- One connector
- Repeated finish, mat or alignment: _____
- Layout A versus B
- Document row / mixed group / separate zones: _____ What improved or became crowded? _____
- Working-room check
- Seated and standing monitor position, lamp, cupboards and planned furniture: _____
- Purchase decision
- Existing pieces that solve the wall: _____ Only missing item, if any: _____
Review the plan once with the room ready for work and once from the doorway. If both views feel right, stop adding. For the broader method, see building around pieces you already love; for photographs, use mixing family photos and art. Installation and the care of valuable original documents need their own suitable advice; a balanced mockup does not specify fixings or preservation materials.